Yes, Miracle-Gro can be good for arborvitae, but only under the right conditions. Ferns have different nutrient and light needs than arborvitae, so it helps to check a fern-focused fertilizer recommendation rather than assuming Miracle-Gro will work the same way is miracle grow good for ferns. If your arborvitae are growing well and look healthy, they honestly don't need it. Where Miracle-Gro earns its keep is when plants are struggling, putting out weak growth, or recovering after a stressful transplant (though not immediately after planting). Use the right product, apply it at the right time of year, and keep the rates in check, and you'll get denser, greener foliage without risking burn or yellowing.
Is Miracle-Gro Good for Arborvitae? Safe Feeding Guide

Marcus Weir
17 May 2026
Which Miracle-Gro product actually works for arborvitae
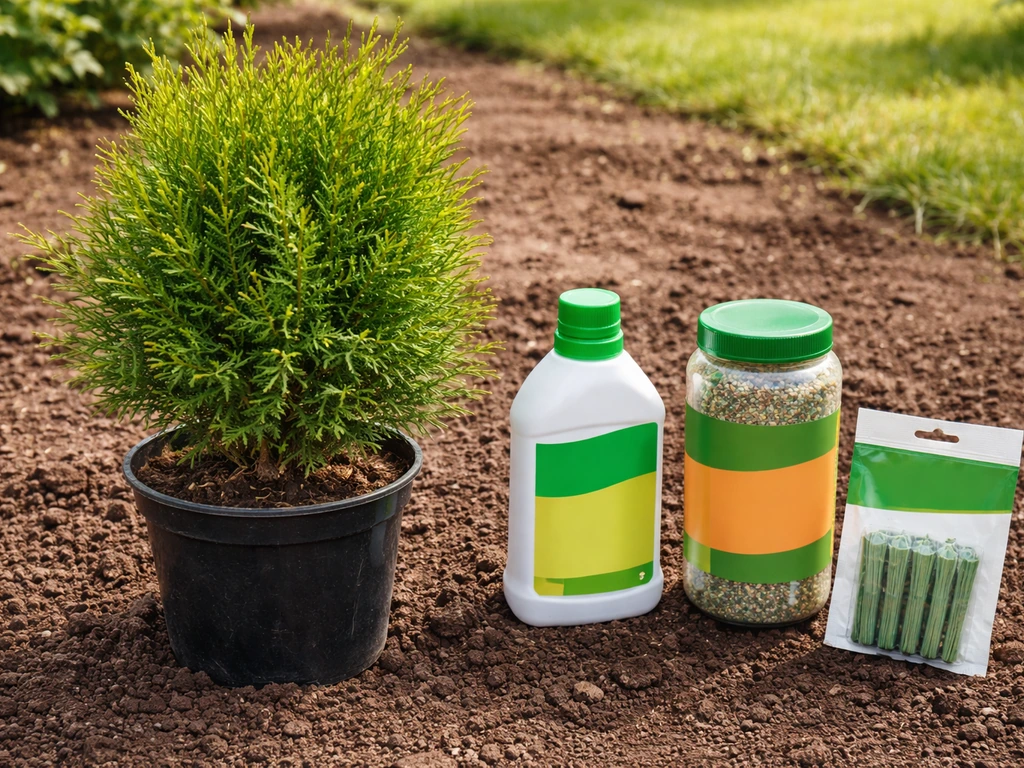
Not every Miracle-Gro product is equally suited to arborvitae. These are evergreen conifers, and they respond best to fertilizers that lean heavier on nitrogen than on phosphorus or potassium. Here's how the main Miracle-Gro formats compare for this specific use case.
| Product | N-P-K | Format | Best For Arborvitae? |
|---|---|---|---|
| Miracle-Gro Water Soluble All Purpose | 24-8-16 | Liquid (mix with water) | Yes, good choice for quick feeding |
| Miracle-Gro Shake 'n Feed All Purpose | 12-4-8 | Granular slow-release | Yes, solid option for seasonal use |
| Miracle-Gro Evergreen Plant Food Spikes | Not specified on label | Spike (buried near roots) | Convenient, timed for spring and fall |
| Miracle-Gro All Purpose Garden Soil | N/A | Soil amendment | Not a fertilizer, different purpose |
The water-soluble 24-8-16 formula is the most flexible and is explicitly marketed for trees and shrubs. That higher nitrogen number is exactly what arborvitae respond to, since nitrogen drives the foliage density and green color you're after. University research consistently shows nitrogen yields the greatest growth response in woody plants, so a product with an N-P-K like 24-8-16 or 12-4-8 is a better fit than a balanced 10-10-10, though that can work in a pinch.
The Evergreen Plant Food Spikes are the most convenient option if you don't want to measure or mix anything. They're designed specifically for evergreens, and Miracle-Gro's directions say to apply them once in early spring and once in mid-fall when the ground is soft and moist. If the soil is dry, you're supposed to water it first before driving the spikes in. Spikes should be placed at least 3 feet apart, and for smaller shrubs where the drip line is less than 2 feet from the center, position the spikes about 2 feet out from the trunk rather than right at the base.
When to fertilize arborvitae for the best results
Timing matters more than most people realize. The two best windows for fertilizing arborvitae are late August through early October, and early spring before new growth pushes out. Of those two, fall is actually the preferred window according to multiple university extension programs. Nitrogen absorbed in fall gets stored in the roots and stems, then gets converted into that burst of lush spring growth you see when temperatures warm up.
Early spring, meaning roughly March through April depending on your climate, is the next best time. You want to get the fertilizer in before the plant starts actively pushing new growth so it can use those nutrients right away. Avoid fertilizing in midsummer heat, and definitely stop by mid-October in most climates. Feeding too late in fall can push tender new growth right before a hard frost, which leaves that soft tissue vulnerable to cold damage.
One important exception: if you just planted or transplanted arborvitae, hold off on fertilizing right away. Quick-release nutrients applied at planting can actually inhibit root development instead of helping it, which is the opposite of what a newly planted shrub needs. Give it one full growing season to settle in first.
How to apply Miracle-Gro to arborvitae correctly
Water-soluble formula (liquid)
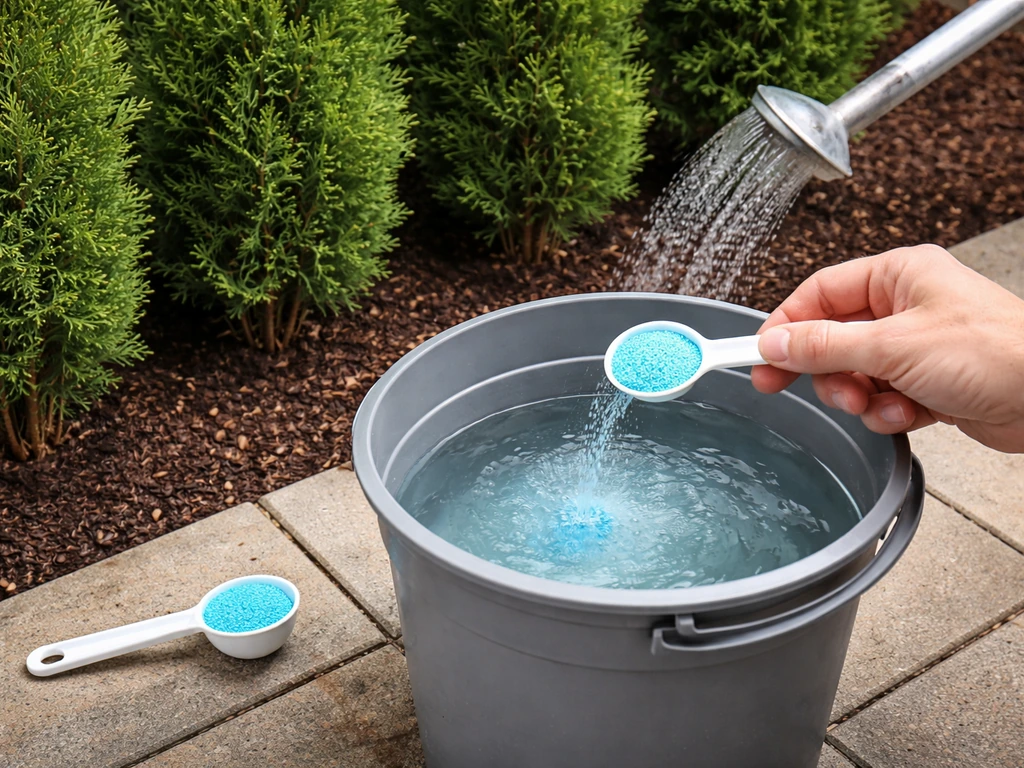
For the Miracle-Gro Water Soluble All Purpose 24-8-16, the label directions say to mix 1.5 tablespoons per 1.5 gallons of water and soak the soil at the base of the plant. Do this every 7 to 14 days during the active feeding period. The key word is soak, meaning you want to wet the root zone thoroughly, not just mist the foliage. Apply it to the soil in a ring around the plant following the drip line, not concentrated right at the trunk where it can burn.
Granular slow-release formula
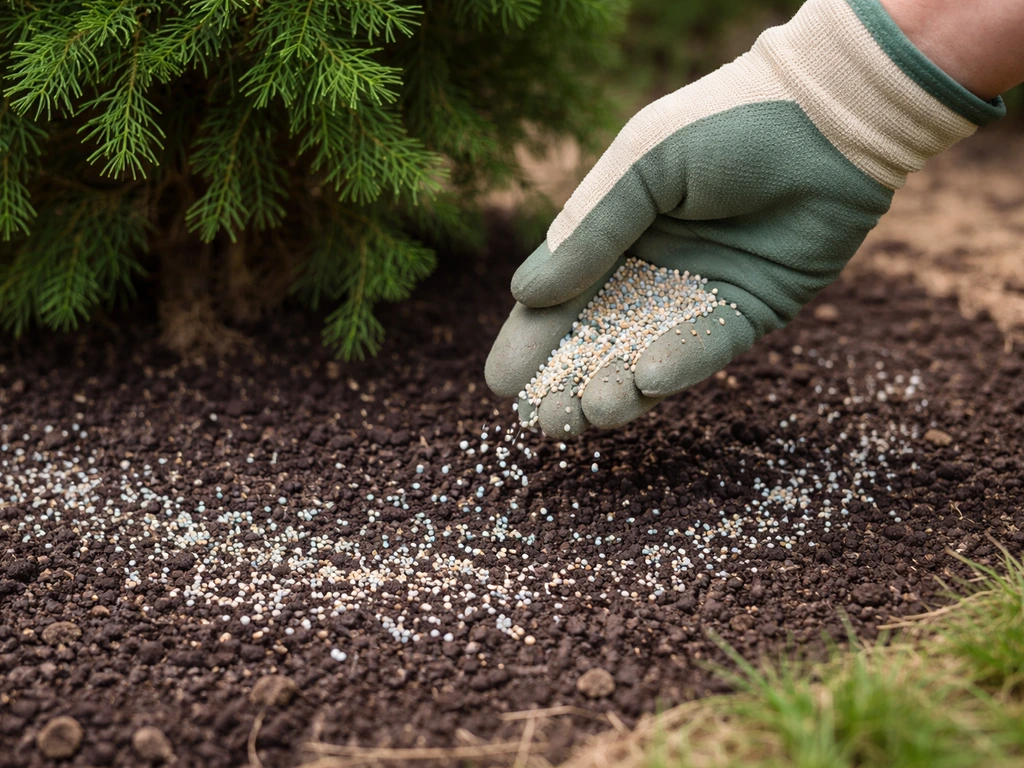
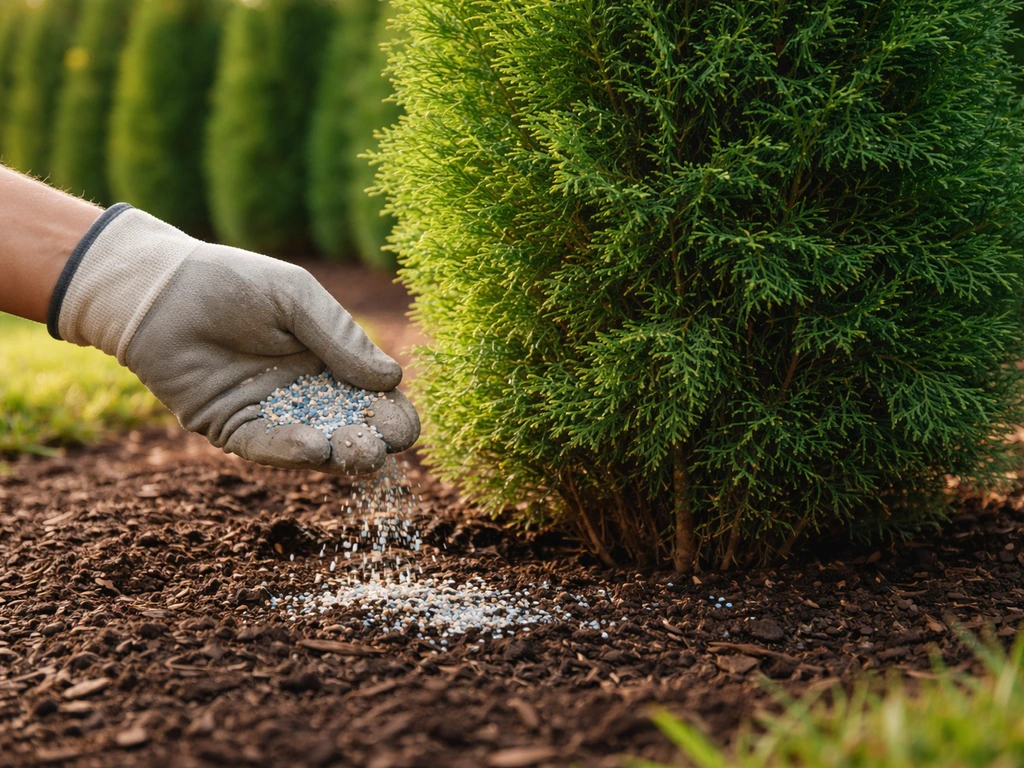
With Shake 'n Feed or similar granular products, scatter the granules evenly across the root zone area (out to the drip line and slightly beyond, since roots often extend past the branch spread), then water thoroughly to start the release process. Don't pile granules against the trunk or crown. A slow-release granular is lower maintenance than liquid, and one application often carries you through several weeks.
Plant food spikes
Drive the spikes about 2 inches below the soil surface along the drip line. Space them at least 3 feet apart. Water the area before and after if the soil is at all dry. The spikes release nutrients gradually as the soil stays moist, so consistent watering matters for getting even feeding. With spikes, two applications per year (spring and mid-fall) is all you need.
The real risks: overfeeding, burn, and yellowing
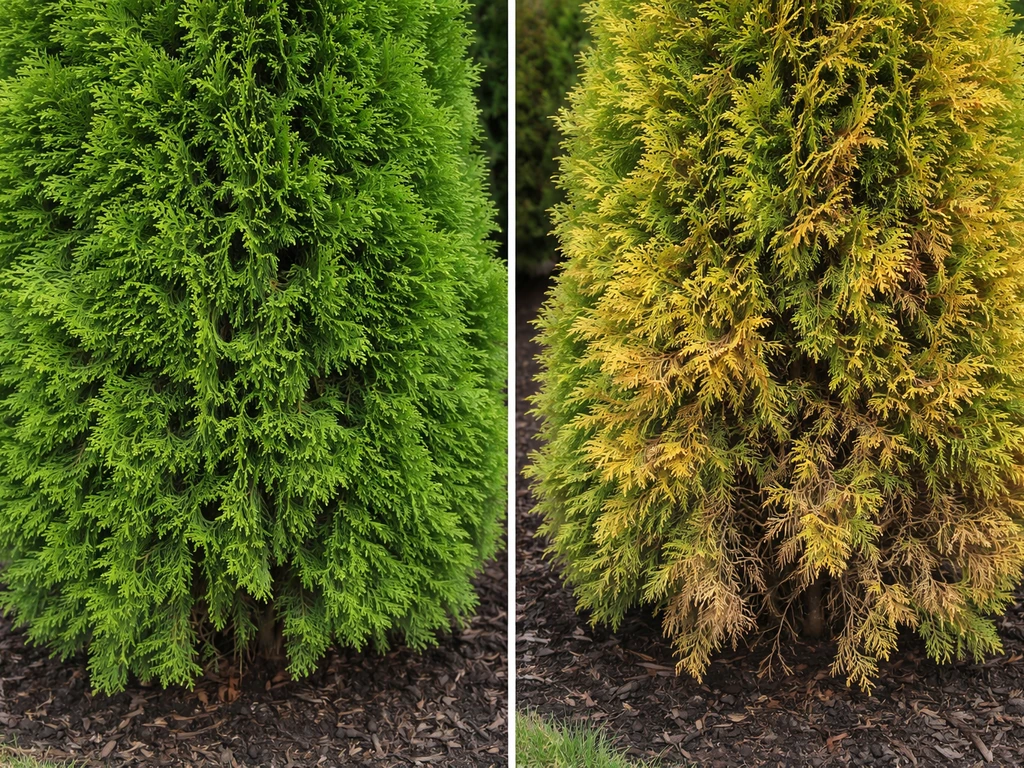
The biggest mistake people make with Miracle-Gro on arborvitae is applying too much or putting it in the wrong spot. Miracle-Gro may behave differently on junipers, so check the nitrogen level and timing before applying it Miracle-Gro on arborvitae. Fertilizer burn happens when concentrated nutrients build up around the roots and essentially pull water out of the plant. You'll notice it as browning or yellowing tips, often starting at the base of the plant or on the inside foliage. If you're using liquid Miracle-Gro and following the label rates, burn is unlikely, but if you double up thinking more is better, you'll see it.
Yellowing that isn't burn-related is more often a watering or site problem than a fertilizer deficiency. Arborvitae in dry soil, windy spots, or heavily shaded locations will yellow and brown regardless of what you feed them. Before reaching for the Miracle-Gro, it's worth checking whether the root zone is actually staying moist. Fall watering is especially important since dry soil going into winter is one of the main causes of winter burn, which shows up as bronze or brown foliage in early spring.
If your arborvitae are already looking stressed, hold off on fertilizing. Applying fertilizer to a stressed plant pushes it to produce growth it can't sustain, which can make things worse. Address the underlying issue, whether that's water stress, poor drainage, or a pest problem, before adding nutrients back into the equation.
Troubleshooting symptoms quickly
| Symptom | Likely Cause | What to Do |
|---|---|---|
| Browning tips near base | Fertilizer burn or salt buildup | Flush root zone with water, reduce fertilizer rate |
| Overall yellowing | Drought stress or poor drainage | Check soil moisture, adjust watering first |
| Bronze/brown foliage in spring | Winter burn (dry soil before dormancy) | Water well in fall, mulch root zone |
| Sparse, weak new growth | Nitrogen deficiency or compacted soil | Feed in early spring, aerate if soil is compacted |
| No new growth at all | Pest, disease, or root damage | Inspect roots and foliage before fertilizing |
Arborvitae care that makes fertilizer actually work
Fertilizer is only as effective as the growing conditions around it. Arborvitae do best in well-drained but consistently moist soil with a pH somewhere between 6.0 and 8.0, so they're fairly adaptable on the pH front. They prefer full sun to partial shade. In heavy shade, they tend to thin out and become sparse no matter how much you feed them, so site selection matters more than fertilizer choices in those cases.
Watering is the single most important companion practice to fertilizing. The root zone should never be bone dry when you apply fertilizer, and it should stay reasonably moist in the weeks following. A 2 to 3 inch layer of organic mulch over the root zone (kept a few inches away from the trunk) conserves moisture, moderates soil temperature, and gradually adds organic matter to the soil as it breaks down. This is especially useful going into fall, since dry soil heading into winter dramatically increases winter burn risk.
Also keep in mind that arborvitae roots extend outward well beyond the branch spread. When you fertilize, spread it across that entire root influence zone, not just the area directly under the plant. Concentrating everything near the trunk both underfeeds the outer root system and risks burning the crown.
When to skip Miracle-Gro and use something else instead
Miracle-Gro is genuinely fine for arborvitae in most situations, but it's not always the best tool. For pachysandra, Miracle-Gro can help only if you keep feeding light and avoid over-stimulating soft, stress-prone growth. If you’re wondering about azaleas, Miracle-Gro isn’t automatically a perfect match, so it’s important to pick the right fertilizer for their specific needs is miracle grow good for azaleas. If your plants are healthy, growing at a normal pace, and have good foliage color, blank" rel="noopener noreferrer">you likely don't need to fertilize at all. Adding unnecessary nitrogen to a thriving plant just pushes softer, faster growth that can be more vulnerable to drought and cold damage.
For gardeners who prefer a more hands-off approach, a slow-release granular fertilizer with an NPK around 18-6-12 or similar is often a better fit than water-soluble liquid Miracle-Gro. You apply it once or twice a year and let it do its job. Compost top-dressing is another solid option, especially for improving soil structure over time. A 1 to 2 inch layer of compost worked lightly into the soil around the drip line adds organic matter and releases low levels of nutrients slowly, with essentially no burn risk.
- Skip fertilizing entirely if arborvitae are healthy and growing well at an acceptable rate
- Skip it the first season after planting or transplanting to let the root system establish
- Skip liquid Miracle-Gro if the soil is very dry and you can't water before applying
- Stop all feeding by mid-October to avoid forcing tender growth before frost
- Avoid feeding during summer heat stress or drought without adequate irrigation in place
If you're also maintaining other broadleaf evergreens nearby, the calculus is similar for plants like boxwoods and junipers, though their specific nitrogen tolerances and growth habits differ slightly. To get boxwoods to grow together into a fuller hedge, focus on consistent spacing, even sunlight, and light, regular feeding only when they show slow or sparse growth. Arborvitae are generally more forgiving of higher-nitrogen products than some of those companions, which makes the Miracle-Gro water-soluble formula a reasonable go-to for arborvitae specifically when conditions call for it.
Your practical feeding plan for this season
- Assess first: if the arborvitae look healthy and are growing at a normal rate, skip fertilizing this year
- If feeding is warranted, choose Miracle-Gro Water Soluble 24-8-16 for quick results or Evergreen Spikes for a set-and-forget approach
- Apply in early spring before new growth, or late August through early October (fall is preferred)
- For liquid, mix 1.5 tablespoons per 1.5 gallons of water and soak the root zone every 7 to 14 days during the feeding window
- For spikes, place them at least 3 feet apart along the drip line, 2 inches below the soil surface, when the ground is moist
- Water the root zone thoroughly before and after any fertilizer application
- Mulch the root zone with 2 to 3 inches of organic mulch and maintain consistent soil moisture through fall
- Watch for browning tips or yellowing and back off immediately if you see those signs
FAQ
When should I avoid fertilizing my arborvitae with Miracle-Gro even if I have it on hand?
If your arborvitae are already dark green, growing at a normal pace, and not thinning, you can skip Miracle-Gro entirely. A good rule is to fertilize only when you see weak or slowed growth, paler foliage than usual, or recovery needs after a major stress (like transplant shock), not as a routine yearly boost.
Can Miracle-Gro harm arborvitae if the soil stays wet or poorly drained?
Yes, but only if the soil can drain well. Even with nitrogen-friendly fertilizer, waterlogged roots can cause yellowing and decline that looks similar to fertilizer issues. Before feeding, check that the area holds moisture but does not stay soggy, and avoid applying if the ground is waterlogged or saturated from heavy rain.
Is it okay to combine Miracle-Gro with other fertilizers or compost for arborvitae?
Yes, and it’s a common mistake. Use a nitrogen-focused product, and follow label timing and rate, but do not add extra supplements like manure, blood meal, or additional high-nitrogen lawn fertilizers at the same time. Stacking nitrogen sources is a frequent cause of tip browning and overall yellowing that resembles burn.
What should I do if I over-fertilized my arborvitae with Miracle-Gro and I notice browning?
If you accidentally overapply or see early signs of burn (browning or yellowing tips, especially near the base or inside foliage), stop further feeding immediately and focus on deep, even watering over the next couple of weeks. The affected tips usually will not turn green again, but new growth should improve once you correct moisture and stop nutrient buildup.
How long after planting or transplanting arborvitae can I start Miracle-Gro feeding?
Do not feed newly planted arborvitae right away. Wait until the first full growing season has passed so the roots can re-establish. If you must do something sooner, rely on light watering and soil improvement rather than quick-release nitrogen, since newly planted plants can’t use it safely.
Does early cold weather change the best time to fertilize arborvitae with Miracle-Gro?
Miracle-Gro can trigger too much soft growth for arborvitae under cold-stress conditions. That means in areas with early frosts or long cold snaps, it’s safer to stop earlier than mid-October and stick to the label’s late-summer or early-fall window so new growth has time to harden off.
Can I use Miracle-Gro on arborvitae in containers, and do I need a different approach?
Not necessarily. Container-grown arborvitae often need more frequent, lighter feeding than in-ground plants, but Miracle-Gro spike or liquid schedules may still be too strong if the container drains quickly. Use diluted liquid feeding at lower-than-maximum rates, and only when the plant is actively growing and the root ball is moist.
How far from the trunk should I apply Miracle-Gro to reach the roots of arborvitae?
For best results, confirm you’re spreading into the root influence zone, not just right under the trunk. Arborvitae roots extend outward beyond the branch spread, so concentrate the product along the drip line and slightly outward, and keep it off the trunk to reduce localized burn risk.
Which is safer for most people, Miracle-Gro liquid or spikes, for arborvitae care?
Liquid feeding generally gives faster visible results but also increases the risk of burn if the soil is dry or the dose is too high. Granular options like evergreen spikes release nutrients more gradually. If you tend to forget watering or can’t keep the root zone consistently moist, slow-release products are usually the safer choice.
How can I tell whether yellow arborvitae foliage is from fertilizer versus watering or site problems?
If foliage is yellowing but the plant is otherwise firm and new growth is healthy, the cause is often watering, drainage, or sun/shade imbalance rather than nutrient lack. Before fertilizing, check whether the root zone stays evenly moist (not bone dry, not soggy), and look for sun scorch or winter burn patterns.
Next Article
How to Get Boxwoods to Grow Together: Fix Patchy Fill-In
Checklist to fix patchy boxwoods: spacing, light, soil, pruning to trigger new shoots, watering, feeding, and seasonal p