Yes, you can figure out which ones will grow, and you can do it today without any special equipment. The short answer is this: read what's on the packet or tag, match those requirements against your actual conditions (light, temperature, soil, water), run a quick germination test on anything you're unsure about, and then follow a simple planting plan for the winners. That's the whole process. Everything below breaks it down step by step.
Do You Know Which Ones Will Grow How to Test and Succeed

Marcus Weir
4 Apr 2026
How to identify what you're actually working with
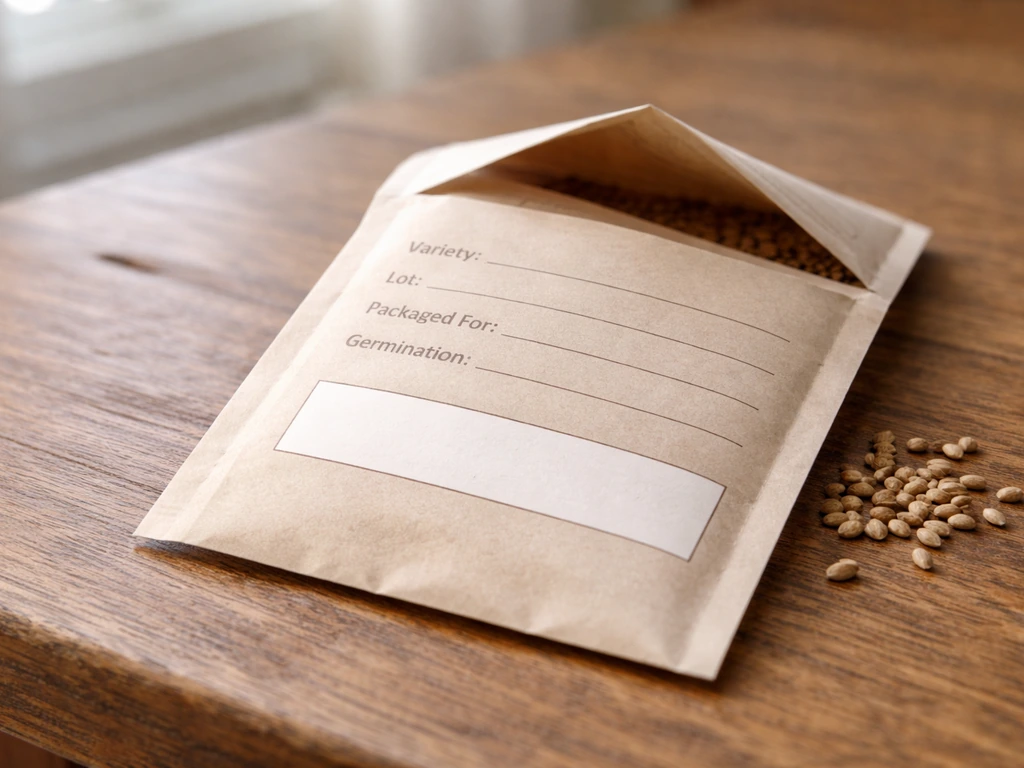
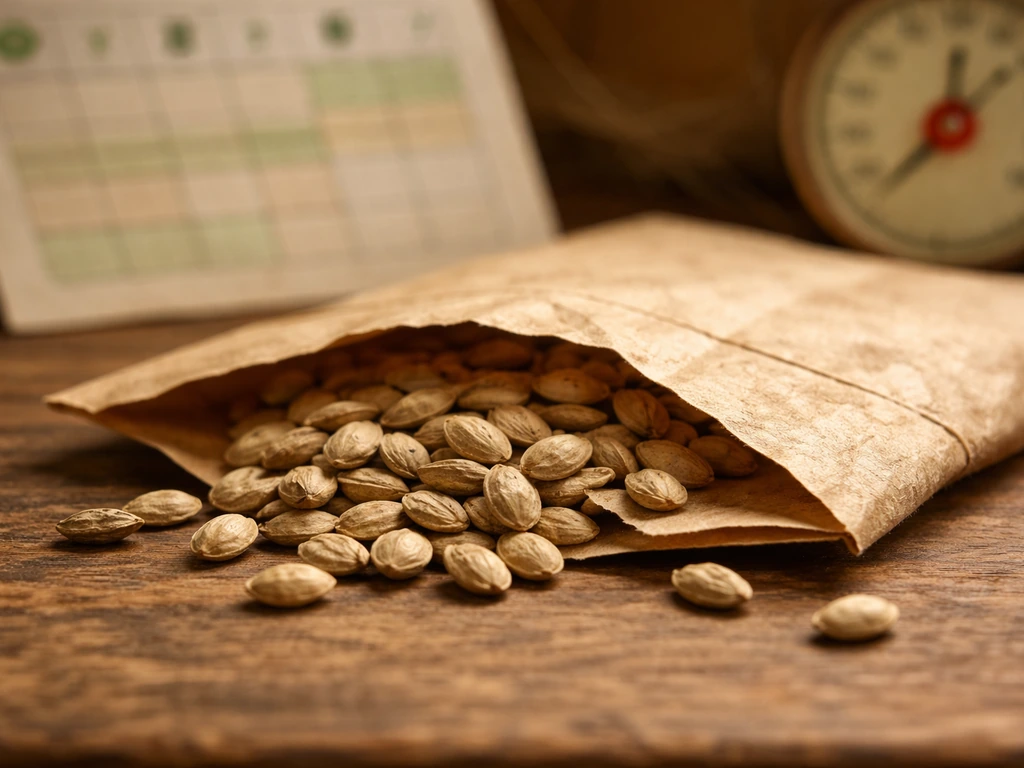
Before you can predict which seeds, cuttings, or bulbs will grow, you need to know exactly what you have. Seed packets carry more information than most people realize. Look for the variety name, the lot number (which tells you the batch the seed came from and links to its tested germination rate), and the kind or crop name. The USDA requires that commercial seed labels include at minimum the variety name and lot number for traceability, so if your packet has both, you can often look up the lot's performance data online or contact the supplier directly.
One thing worth knowing upfront: the genetic type printed on the packet, whether it says hybrid, open-pollinated, or heirloom, tells you about trait expectations for offspring, not about how easily the seed will germinate this season. hybrid seeds grow just fine in the first generation, but if you're planting saved seed from an F1 hybrid, the offspring may not look like the parent plant at all. Open-pollinated varieties are the ones that breed true from saved seed when properly isolated, which matters a lot if you're planning to save and replant. If you're working from a mystery packet or something you saved yourself, identifying the variety first saves you a lot of frustration later.
For cuttings and bulbs, identification works a little differently. Label or photograph everything before you mix them up. Check for visible eyes (growth points) on bulbs, firm flesh with no soft spots, and at least one node on cuttings. A potato seed piece, for example, needs at least one eye to have any chance of sprouting. If you're dealing with unusual or hard-to-identify specimens, exploring what rare seeds grow into can help you narrow down what you're looking at based on appearance and origin.
The four things that actually determine whether something will grow
Every seed, cutting, or bulb has a specific window of conditions it needs to succeed. Miss one of these four, and even a perfectly viable seed won't germinate.
Temperature

This is the one most beginners underestimate. Soil temperature, not air temperature, is what matters for germination. Most cool-season vegetable seeds (think lettuce, spinach, radishes) germinate well around 60°F soil temperature. Most warm-season crops (tomatoes, peppers, squash) need closer to 75°F soil. Going outside those ranges doesn't just slow germination, it can stop it entirely or trigger rot. Use an inexpensive soil thermometer and check before you plant.
Light
Most people know seedlings need light once they've emerged, but light requirements during germination vary by species. Some seeds actually germinate best in the dark and can be inhibited by light exposure, including species like Phacelia and Allium. Others need light to break dormancy. Check the packet for "surface sow" or "cover lightly" instructions. Once seedlings emerge, placing your setup near a window or under grow lights is essential for preventing weak, leggy growth.
Water and moisture
Newly purchased seeds that fail to germinate are very often simply too dry. Consistent moisture is critical during germination, but the line between moist and waterlogged is where most beginners go wrong. Seeds sitting in cold, wet soil are prone to rotting or damping-off before they ever sprout. The goal is soil that feels like a wrung-out sponge: damp throughout but not dripping.
Soil and planting depth
Poor drainage kills more seedlings than almost anything else. Use a well-draining seed-starting mix, not garden soil straight from the ground. Planting depth matters too: most seeds are planted at a depth of roughly two to three times their diameter. Planting too deep is one of the most common reasons seeds never emerge. Check the packet for specific depth guidance and treat it seriously.
| Condition | Cool-Season Crops | Warm-Season Crops |
|---|---|---|
| Ideal soil temp for germination | ~60°F | ~75°F |
| Examples | Lettuce, spinach, radish, peas | Tomatoes, peppers, squash, basil |
| Planting timing (spring) | 4 to 6 weeks before last frost | After last frost, soil warm |
| Days to germination (typical) | 5 to 14 days | 7 to 21 days |
| Light during germination | Varies by species | Varies by species |
| Moisture sensitivity | Moderate | Higher (warm soil dries faster) |
Testing viability before you commit to planting
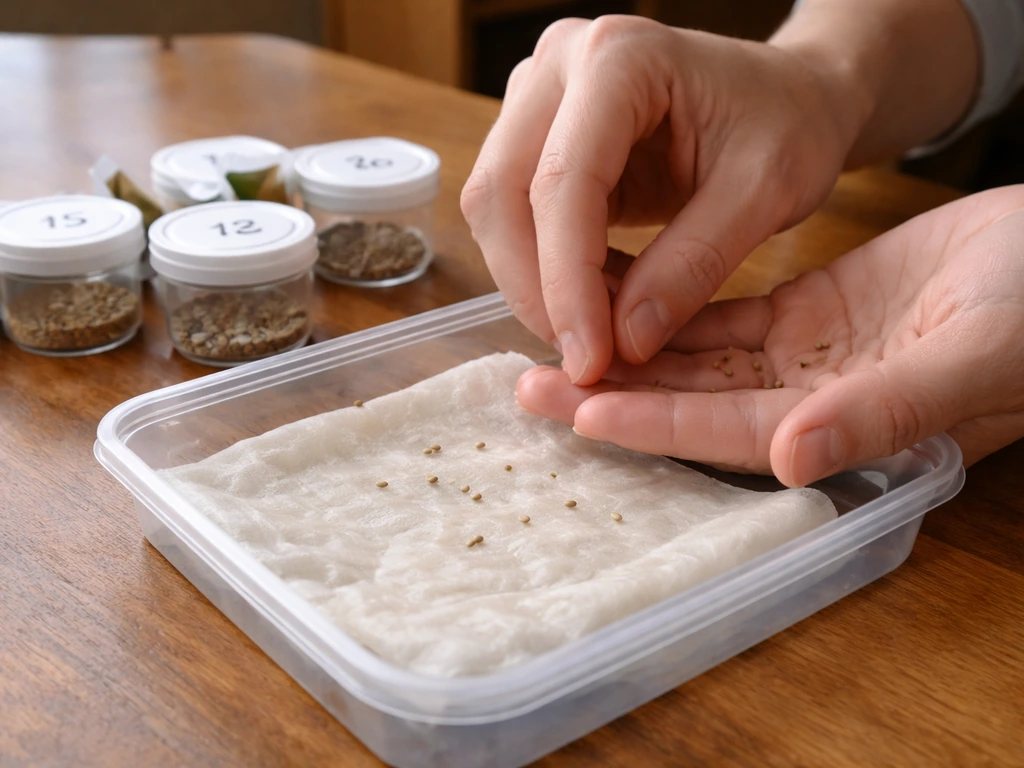
If your seeds are more than a year or two old, run a germination test before you plant an entire bed. Different crops hold their viability for different lengths of time. Cucumber seed tends to stay viable for several years, while others decline much faster. The wet paper towel test is the simplest method: dampen a paper towel, place 10 seeds on one half, fold the other half over them, seal in a plastic bag, and keep it in a warm spot. Check after the expected germination window for that crop.
When running this test, select seeds randomly from the packet. Don't cherry-pick the best-looking ones. The whole point is to get an honest rate. blank" rel="noopener noreferrer">If 7 out of 10 germinate, your germination rate is 70%. That means you can compensate by planting roughly 30% more seeds than you normally would to hit your target plant count. If fewer than 5 out of 10 sprout, the seed lot is weak and you're better off replacing it. This test is especially worthwhile before planting anything you've had stored in a drawer for a couple of seasons, or anything you're curious about like when ancient seeds grow, where viability timelines can be surprising.
For cuttings, the equivalent test is a simple tug test after two to three weeks in your rooting medium. A cutting that resists a gentle upward pull has begun rooting. One that slides out easily has not. For bulbs, press gently: a firm bulb is viable, a soft or hollow one is not worth planting.
If you're growing anything with unknown provenance (saved seeds, discount packets, gifts), a small trial grow before committing your whole space is always worth it. Some seeds that look perfectly fine on the outside have lost internal viability. I've had dollar tree seeds grow with surprising success, but the germination rates varied a lot between packets, which is exactly the kind of situation where pre-testing saves wasted time.
Why things aren't growing (and the fast fix for each)
Most germination failures come down to a short list of fixable problems. Here's what to check and what to do about it right now.
- Too cold: Soil below the minimum germination temperature stops most seeds cold (literally). Fix: Move trays to a warmer spot or use a seedling heat mat. Check soil temp with a thermometer.
- Too dry: Seeds need sustained moisture to activate. Fix: Water gently, cover trays with a humidity dome or plastic wrap to hold moisture in, and check daily.
- Planted too deep: Seeds buried far below their ideal depth exhaust their energy reserves before reaching the surface. Fix: Replant at the correct depth, typically 2 to 3 times the seed's diameter.
- Old or stale seed: Seed older than its viability window won't germinate reliably. Fix: Run the paper towel test first, and if rates are under 50%, replace the seed.
- Damping-off (fungal): Seedlings emerge then collapse at the base, with lower stems turning brown or black. Caused by overly wet, cool, compact conditions. Fix: Reduce watering frequency, improve drainage, increase airflow, and use fresh sterile seed-starting mix. Low light, overwatering, high salt from excess fertilizer, and cool soil all raise damping-off risk.
- Insufficient light post-germination: Seedlings emerge but grow tall, pale, and weak (etiolated). Fix: Move closer to a window or add a grow light directly above seedlings.
- Dormancy not broken: Some seeds need cold stratification, scarification, or soaking before they'll germinate. Fix: Check species-specific requirements and apply the appropriate pre-treatment before replanting.
- Wrong season or timing: Warm-season crops planted into cold spring soil, or cool-season crops started in summer heat, will underperform. Fix: Match your planting window to the crop's temperature requirements.
A note on potato seed pieces specifically: planting into cold, damp soil dramatically increases the chance that cut pieces rot before they sprout. Cut seed pieces should be allowed to sit at room temperature (60°F to 70°F) for a few days first so the cut surface can dry and form a protective callus layer. Plant when soil temperature is around 55°F or above to give them the best chance.
Your step-by-step plan from today to first true leaves
This plan works for seeds started indoors or in a controlled setup. Adjust the timeline based on what you're growing.
- Day 1: Identify everything you have. Read every packet, check the variety name and lot number, and note the germination temperature range and days to germination listed. Group by cool-season vs. warm-season.
- Day 1: Run a paper towel viability test on any seeds more than one year old or with unknown storage history. Set tests aside in a warm spot and check on days 3, 5, and 7.
- Day 1 to 2: Gather your materials. Use a sterile, well-draining seed-starting mix. Do not use plain garden soil. Fill clean trays or small pots and pre-moisten the mix before sowing.
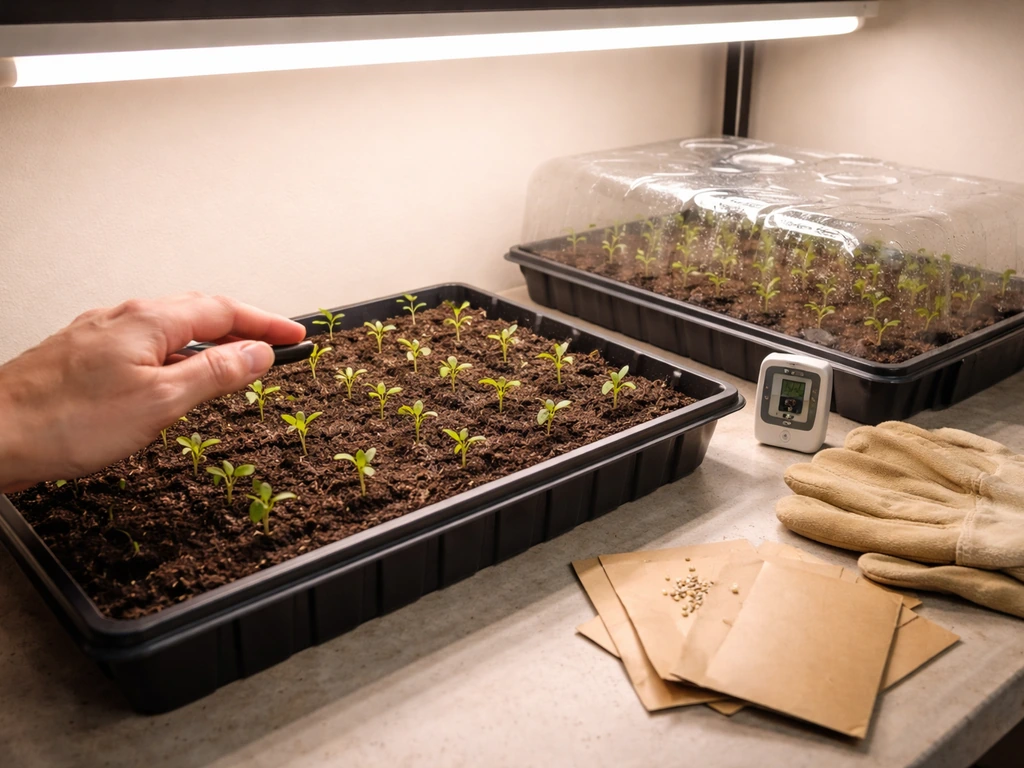
- Day 2: Sow seeds at the correct depth per packet instructions. Label everything immediately. Place warm-season seeds on a heat mat if your home is below 70°F. Place trays where they'll get consistent temperature.
- Days 2 to 14: Keep moisture consistent. Check daily and mist if the surface is drying out. Don't let trays sit in standing water. Once seeds germinate, remove humidity domes promptly to reduce damping-off risk.
- Days 5 to 21 (depending on crop): Watch for germination. Seedling emergence can range from 3 to 15 days at optimum temperatures. Don't panic if nothing shows on day 4. Keep conditions stable.
- First sprout visible: Move trays immediately to your best light source. Seedlings need strong light from the moment they emerge. Weak light now means leggy, fragile plants later.
- Week 2 to 3: First true leaves appear (the ones after the initial seed leaves called cotyledons). This is when the seedling transitions from living off its seed reserves to feeding itself. Begin very light fertilizing only after true leaves appear.
- Week 3 to 6 (for transplants): Begin hardening off seedlings that will move outdoors. Set them outside for one to two hours on a calm, mild day, increasing outdoor time daily over one to two weeks before transplanting.
When to cut your losses and try something else
Not everything is worth waiting on indefinitely. Here's how to set realistic timelines and know when to shift strategies.
If seeds haven't germinated by double the expected days to germination listed on the packet, and you've confirmed temperature and moisture conditions are correct, the seed is very likely not viable. Don't keep watering an empty tray for three weeks hoping something will appear. At that point, retest a fresh sample on a paper towel to confirm, and if nothing sprouts, replace the seed. Some species in unusual categories, including certain specialty plants like rare flowers grown in controlled environments, have documented dormancy quirks that require specific breaking treatments before germination will occur at all.
If seedlings emerged but are struggling, check for damping-off (falling over at the base), persistent paleness despite good light, or complete stalling at the cotyledon stage without producing true leaves. Any of these after three weeks means something is wrong with your conditions. Revisit temperature, drainage, and light first, in that order, before assuming the plant is a lost cause.
A useful mindset: treat your first planting of anything new as information-gathering. Germination rate, how quickly seedlings develop, and which conditions caused failures all tell you something for the next round. I keep a simple notebook with germination dates, soil temps, and what worked so I'm not re-learning the same lesson each spring.
If you've corrected every obvious variable and still have consistent failures with a particular variety or seed source, it may genuinely be a seed quality issue rather than a technique problem. Some varieties from unreliable sources have low baseline germination rates that no amount of careful technique can fix. In that case, sourcing fresh seed from a reputable supplier and starting fresh is faster than troubleshooting a fundamentally weak lot.
Quick-reference: normal vs. not normal
| What you're seeing | Normal or not? | What to do |
|---|---|---|
| No germination at day 5 (cool-season crop) | Usually normal | Wait. Keep moisture and temp stable. |
| No germination at 2x the expected days | Not normal | Paper towel test, then replace seed if needed. |
| Seedlings tall and pale after 1 week | Not normal | Move to better light immediately. |
| Seedlings collapsing at soil level | Not normal (damping-off) | Improve drainage, reduce watering, add airflow. |
| First leaves (cotyledons) look odd or uneven | Often normal | Wait for true leaves before worrying. |
| True leaves slow to appear after 2 weeks | Borderline | Check light levels and temperature. |
| Seeds sprout then stall completely | Not normal | Check root zone moisture and soil compaction. |
| Some seeds in a batch germinate, some don't | Normal for older seed | Plant extra to compensate for lower rate. |
FAQ
How do I tell if my failure is from the seed or from the setup after a germination test?
Run the paper-towel test and, separately, a small “in-soil” trial with the same lot in the same tray, using the same soil temp. If paper-towel germinates but in-soil doesn’t, the issue is usually moisture balance, drainage, or planting depth, not viability.
Should I soak seeds before planting to improve how fast they grow?
It depends on the packet. For most crops, soaking can speed germination but can also worsen rot if your soil stays cold or waterlogged. If you soak, do it only if the packet allows it, then plant immediately and keep soil temperature in the recommended range.
My seeds are germinating, but seedlings keep falling over. What’s the most likely cause?
Damping-off is usually linked to staying too wet with poor airflow or too much heat for the species. Use a sterile seed-starting mix, water from below or lightly from the surface, and avoid watering again until the top layer just starts to dry.
How can I adjust planting density if my germination rate is low?
Use the germination rate math from your test. If 7 of 10 sprout, plan for 70% emergence, then sow or transplant to hit your target plant count. Also consider “loss after emergence,” so it can help to add a small buffer (for example, 5 to 10% extra) if you tend to have transplant shock.
Do light and cover instructions apply the same way for broadcast sowing and row sowing?
Not always. If a seed packet says “surface sow,” seeds need light and should not be covered deeper than a dusting at most. For row sowing, you still want the correct depth, but broadcast can lead to accidental over-cover, so press lightly into the medium instead of burying.
What soil temperature should I use if I’m starting indoors with heat mats?
Measure soil temp at seed depth, not air temp. Heat mats can create uneven warming, especially with shallow flats, so rotate trays if one side stays cooler. Aim for the species target range and avoid overshooting, which can slow germination or raise rot risk.
Is it safe to reuse seed-starting mix after germination failures?
Only if you can pasteurize or replace it. Seedling failures often involve pathogens, like damping-off organisms, that can persist in reused mix. For one-off experimentation, fresh mix is usually the fastest way to rule out contamination.
How long should I wait before deciding seeds are not viable, especially for slow crops?
Use the packet’s expected days to germination as your baseline, then use the “double the expected days” rule once your temperature and moisture are confirmed. For species known to have dormancy quirks, rely on any packet notes about special treatment before switching to replacement.
What’s the best way to store seeds after I open a packet so they keep germinating well later?
Keep them cool, dry, and sealed. Even a few months of high humidity can reduce viability. Label the opening date, then rerun a quick paper-towel germination test if you’re planting later than expected from your normal timeline.
Can cuttings be tested too early, and how should I interpret the tug test?
Do the tug test after your usual rooting window for that plant, commonly around two to three weeks in the provided medium. A cutting that resists a gentle upward pull suggests rooting, but if it’s only firm because it’s “stuck,” check by very lightly unpinching the medium to see whether roots have formed.
Next Article
When Do Ancient Seeds Grow? Planting Time and Germination Guide
Learn when to plant ancient stored seeds, how to boost germination, and what they grow into using timing and viability t